Crestron Dashboard 2014
Welcome to the 2014 Crestron Dashboard
Dashboard 2014
This page is meant to serve as a guide for navigating the buttons. Going through this review will empower you understand how the system works as it will allow you to understand the buttons and the dashboard's functionality. Ultimately, you will be able to present better because you will have confidence that you know how the system works.
Also, the dashboard program exists on a wireless iPad Mini. Therefore, you will travel throughout the room with the iPad mini in hand. However, be sure to return the iPad mini to the magnetic power base as it is needs to be recharged for the next professor!
Main Page
Crestron 2014 Dashboard
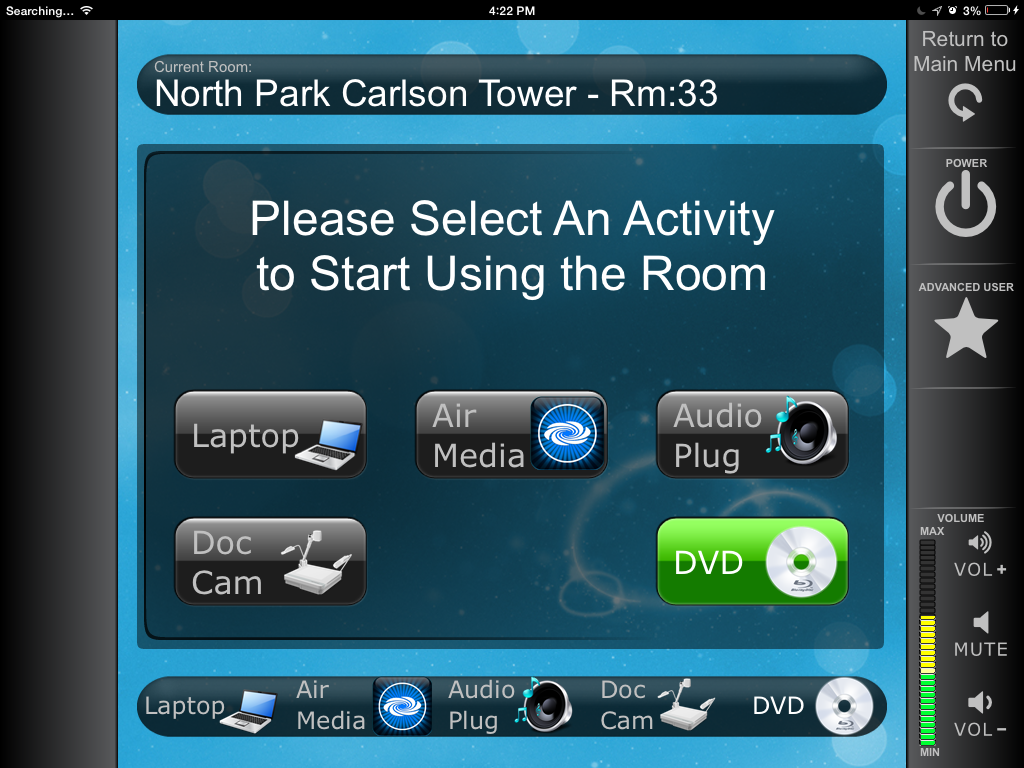
You have the ability to choose any source, device, and advanced features...all from the dashboard. For instance, if you press "DVD", the bluray player will turn on and route itself to both TVs. However, you can chose to bring in another source and choose which TV you want to have it display by going to the Advanced User options. Please practice as this takes some getting used to.
*NOTE* Some featured buttons will stay the same throughout most of the dashboard: Return to Main Menu, POWER, Volume options, Current Room, and the bottom bar source selection.
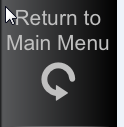
"Return to Main Menu" will always bring you back to the beginning page within the dashboard
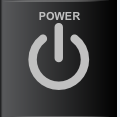
"Power" turns the system on and off. A confirmation screen will come up if you decided that you are not done presenting.
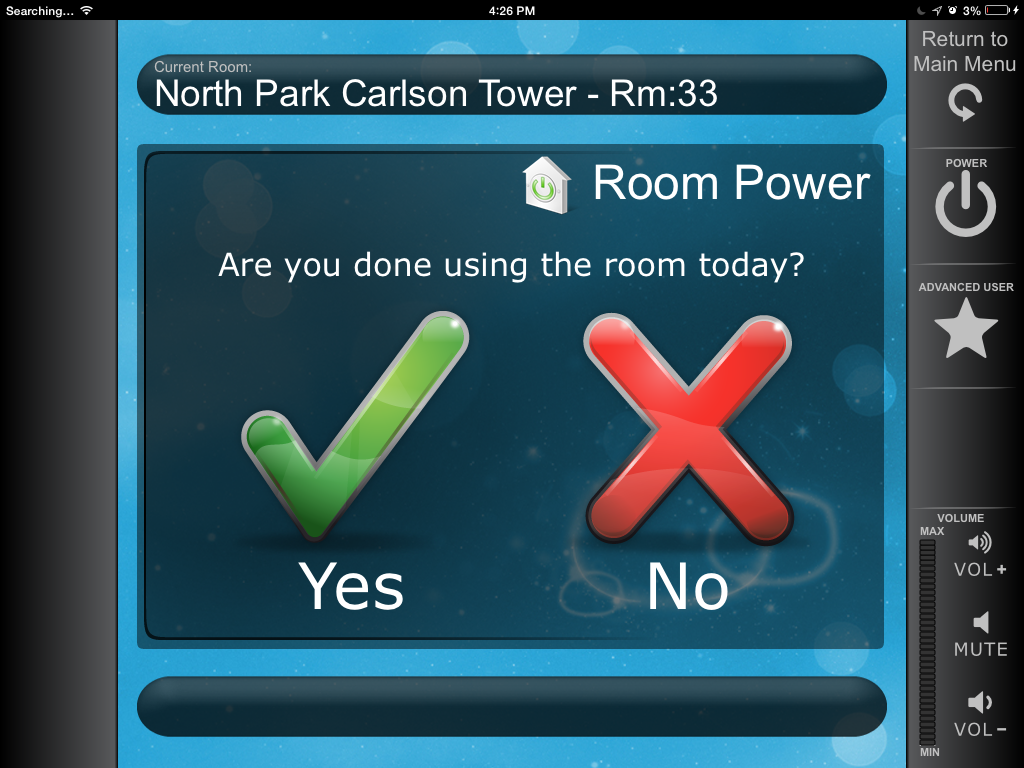
"Yes" will turn off the system
"No" will take you back to menu options
"Advanced User" will allow you to choose more technical options, like routing sources to Echo360 or showing two different sources on the displays at the same time
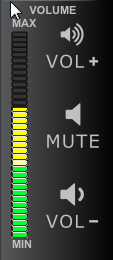
"Volume" controls the loudness of the sound that is coming from the speakers
- The color status bar allows you to see how much volume is currently coming from the system
- "VOL-" is the button to lower volume
- "MUTE" is the button that halts sound with out lowering it
- "VOL+" is the button that increases sound

These sources will always be available on the dashboard for quick switching

Laptop
Pressing the "Laptop" button will bring you to the screen with video and audio options. Ideally, you will want to connect the HDMI cable and choose HDMI for both audio and video. However, some laptops do not have HDMI connections. If this is the case, then pressing the buttons, "VGA" for type of video and "Analog" for type of audio while connecting the VGA and headphone cables (3.5 mm), will connect you to the system as well.
*NOTE* What does HDMI, VGA, and headphone jack (3.5 mm) cables look like?
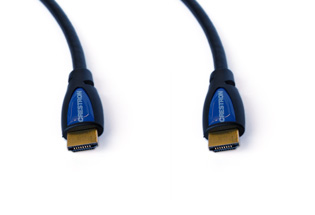
HDMI (cord above) connection carries both video and audio. This cable is current with today's standards
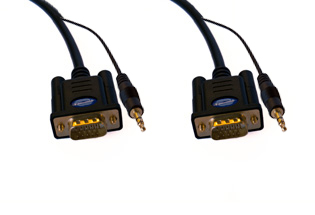
This is a VGA cable with a headphone jack cable attached (above). This type of connection is now considered "legacy"
If necessary, choose the connection (connection for VGA or HDMI) that is appropriate for your device on the Laptop's sub page:
.JPG%20-%20Windows%20Photo%20Viewer.png?version=1&modificationDate=1394788623350&cacheVersion=1&api=v2&width=500&height=500)
- Please make sure to press the appropriate buttons respective to the connection:
EXAMPLE: An HDMI connection needs to have the "HDMI" buttons activated for both Type of Video and Type of Audio sections if you plan on using sound and video in your presentation
Crestron 2014 Dashboard
*NOTE* You have the ability to turn on the system without accessing the dashboard. Simply connect the VGA or HDMI cable to your laptop and the system will automatically turn on. You will be able to confirm this action when the Connect It lights turn green from blue.
Air Media
Wireless connect your laptop, tablet, or phone device to the system by pressing the icon "Air Media" and following instructions that are presented on the display.
You will be able to:
- Use any devices that in PC, Mac, IOS, Android
- present any type software (PowerPoint, Excel, Keynote, internet browsers)
- Allow others to see you presentation on their personal devices
You WILL NOT be able to:
- PLAY VIDEO (NO YOUTUBE, NO VIMEO, AND NO DVD)
More information on how to connect can be found by clicking on the following link: Air Media

Audio Plug
The audio source will allow you to connect your Apple, PC, Phone, Tablet devices to play sound WITHOUT activating the TVs.
Doc Cam
You will have the ability to use a doc cam for a more physical presentation. Also, control options are located on the sub page.
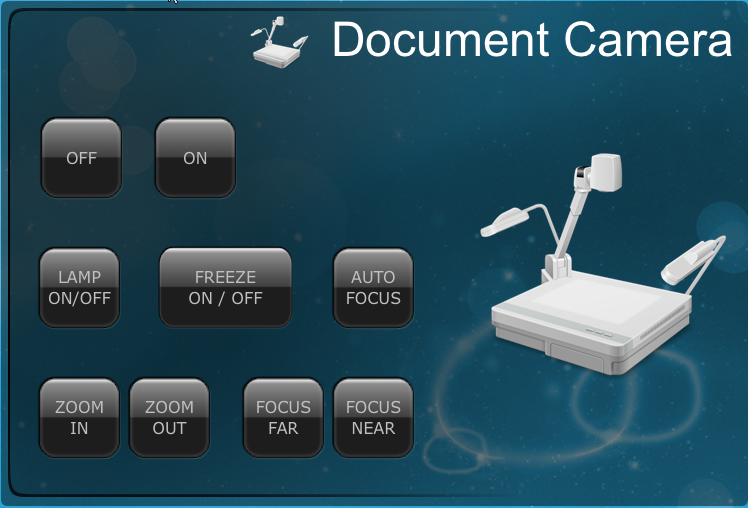
You will have the ability to have complete control of the doc cam from the dashboard
DVD
You will have the ability to play discs in these formats: BluRay, DVD, and Cds. From the dashboard, you can navigate to through any compatible media like a remote control.
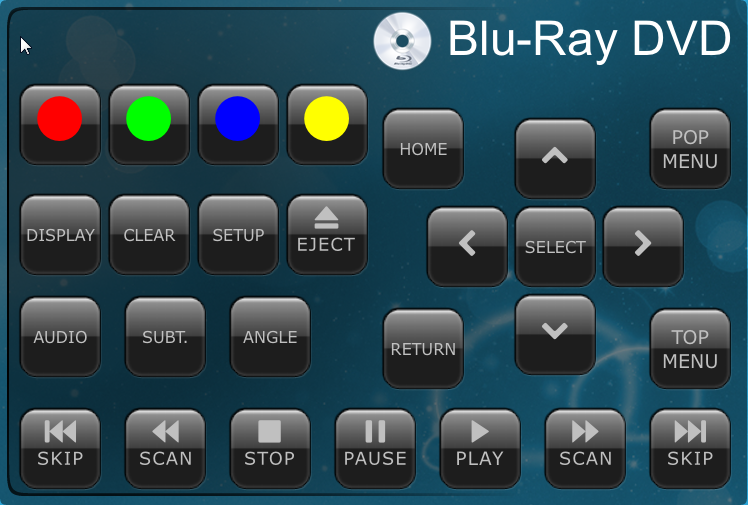
If you plan on using the BluRay player, please take time to familiarize yourself with the buttons, symbols, and actions.
Advance User contd.
For reference, here are some "Advanced User" screen shots:
.JPG%20-%20Windows%20Photo%20Viewer.png?version=1&modificationDate=1394718474917&cacheVersion=1&api=v2&width=500&height=500)
Control Echo360 audio options
.JPG%20-%20Windows%20Photo%20Viewer.png?version=1&modificationDate=1394718619620&cacheVersion=1&api=v2&width=500&height=498)
Control source destinations by selecting more specific TV options