Accessing a Shared Drive
Personal Network Drives
Faculty, Staff, and Students have access to a personal network drive we call a "Z-Drive".
Employees with older Windows machines had z-drives mapped automatically. This will no longer happen on newer Windows machines.
IT is encouraging employees to migrate University files to OneDrive.
Department Shared Drives
Shared Drives, or Department Drives, are shared network drives usually requested by departments. They enable departments to have shared access to documents.
Many University computers will automatically mount these shared drives if the user has access.
If your networking drive does not appear, you may need to mount it manually:
Windows 10
To mount a shared drive permanently on your Windows machine:
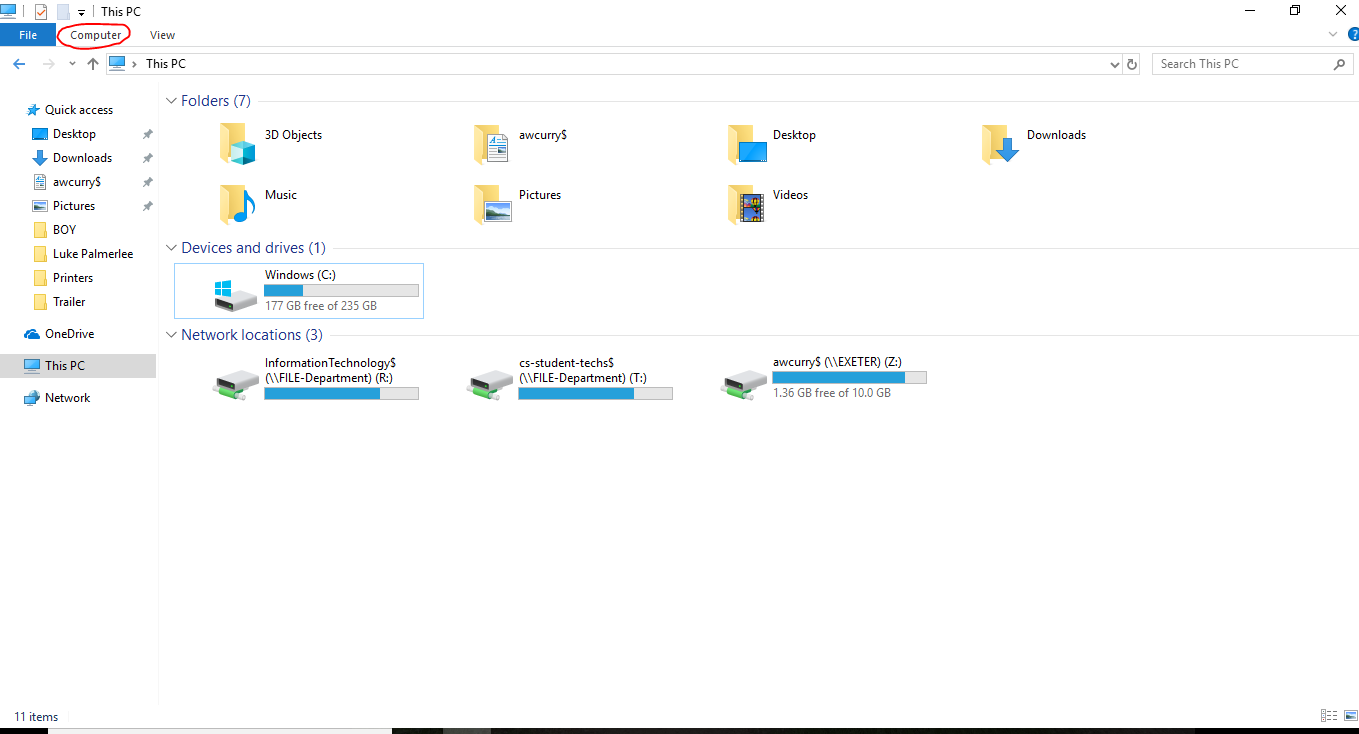
- Start Menu -> File Explorer (the picture of a folder on the left, above the settings wheel)
- Select "This PC" on the left-hand side.
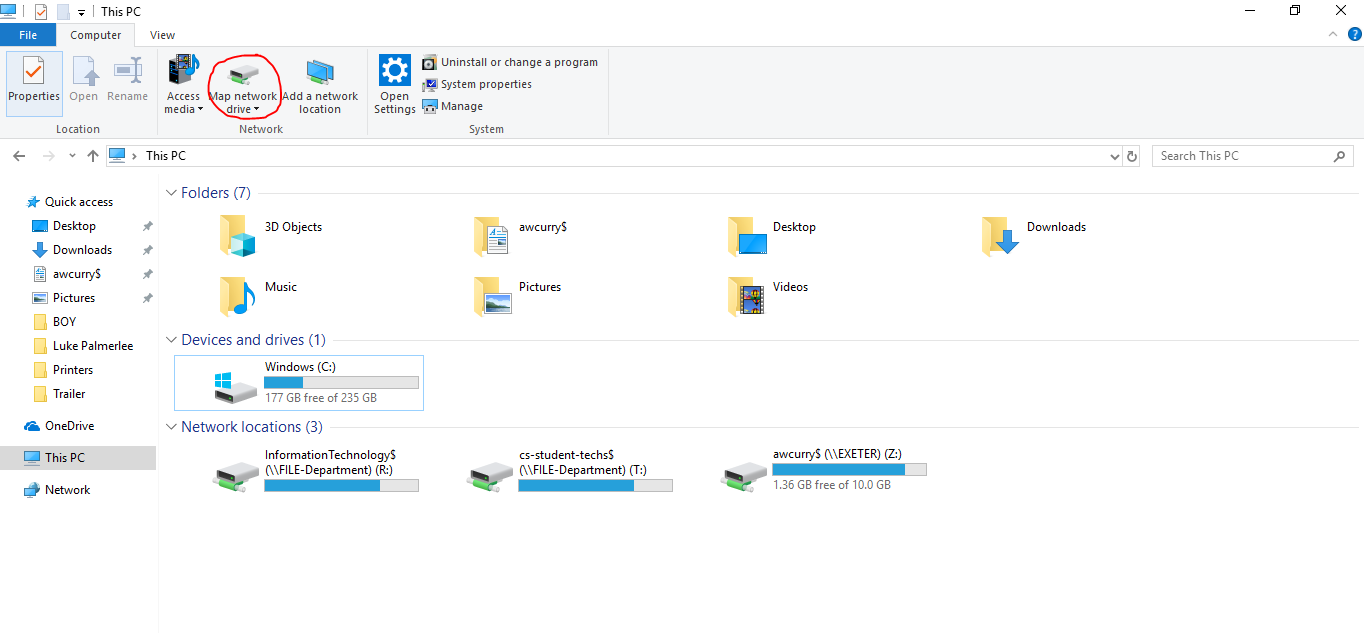
- At the top, choose "Computer" then choose "Map network drive".
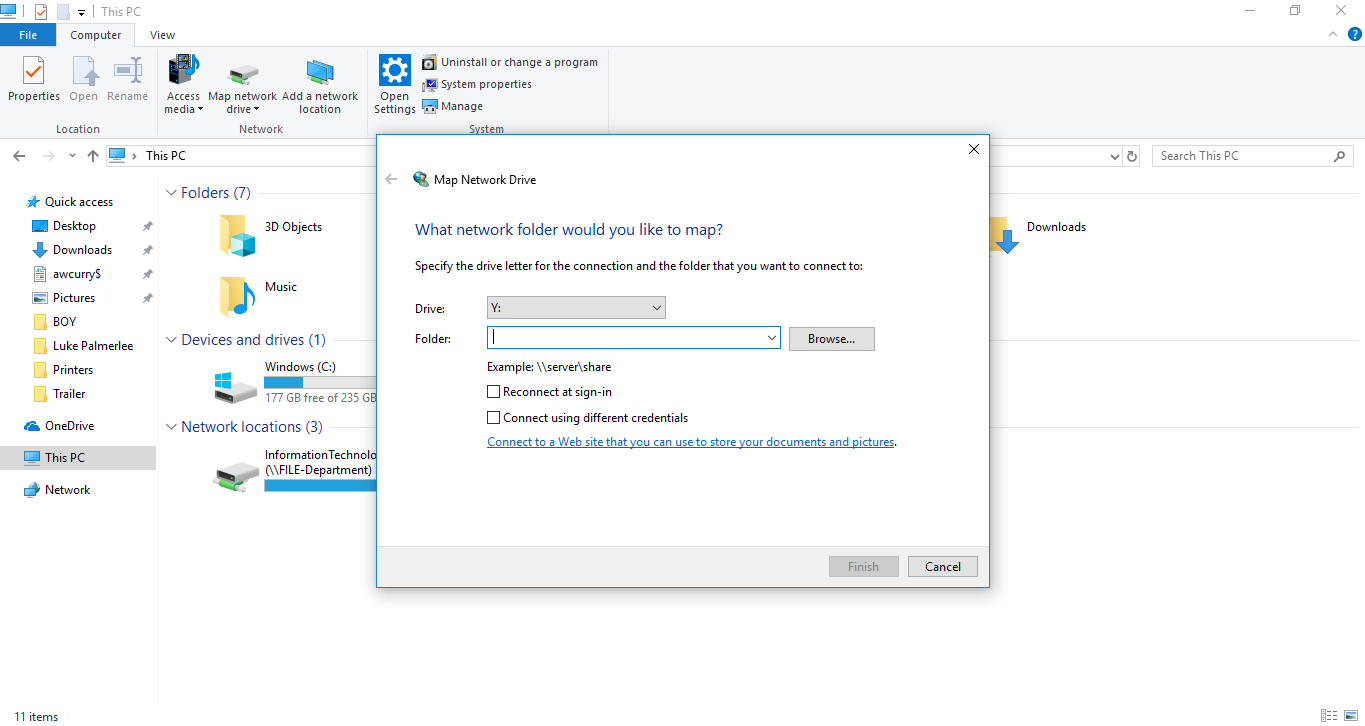
- Select a Drive letter that you want to use. I'd select something "middle of the alphabet": "M" would be good.
- Type "\\file-department\SpecificDriveName$"
- Without the quotes and it is case sensitive
- The naming convention may change with some special drives on campus. Check with IT for permissions.
- Check the box "Reconnect at logon"
The shared drive will now be mounted and will be there even after a reboot.
Apple
- Confirm the machine has access to the NPU network (on campus or using VPN) either through WIFI or Ethernet.
- Go to the "Connect to Server" prompt.
- Choose the Finder
- Click "Go" and then "Connect to Server"
- You can also hit keyboard shortcut: "⌘ K" "Command K" on the keyboard.

- Enter the file path in to the "Server Address:" field
- If you're mapping a z-drive use this convention: "smb://exeter/username$"
- If you're mapping a share drive use this convention: "smb://file-department/sharedexample$"

- Hit the "+" icon next to the entry field to save it to "Favorite Servers."
- Once all the necessary shared drive(s) have been added, select the desired shared drive and hit connect on the bottom right to connect to the shared drive.

Share drives and z-drives won't always stay connected, but they should always be accessible via this method while on campus. And once they're saved in the "Favorite Servers" list, you simply have to click connect.
Connection Issues
If your z-drive (or other Department Share Drive) is not available when you log in please contact the IT Help Desk.
Please note that Department Share Drives are only available when you log in while on campus.
Need Off Campus Access?